A warm up exercises for runners is a vital part of preparation if you’re a long distance runner, marathon runner, …
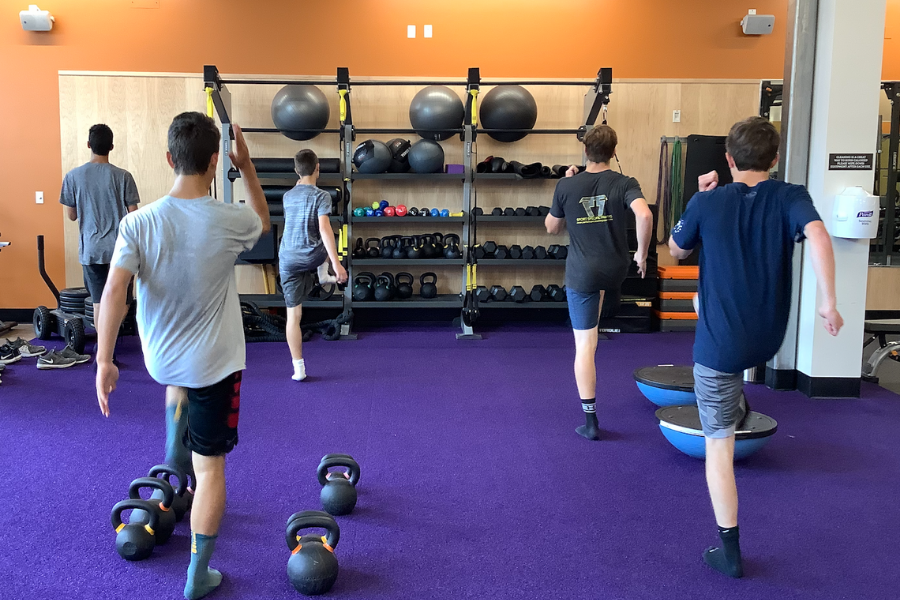
A warm up exercises for runners is a vital part of preparation if you’re a long distance runner, marathon runner, …
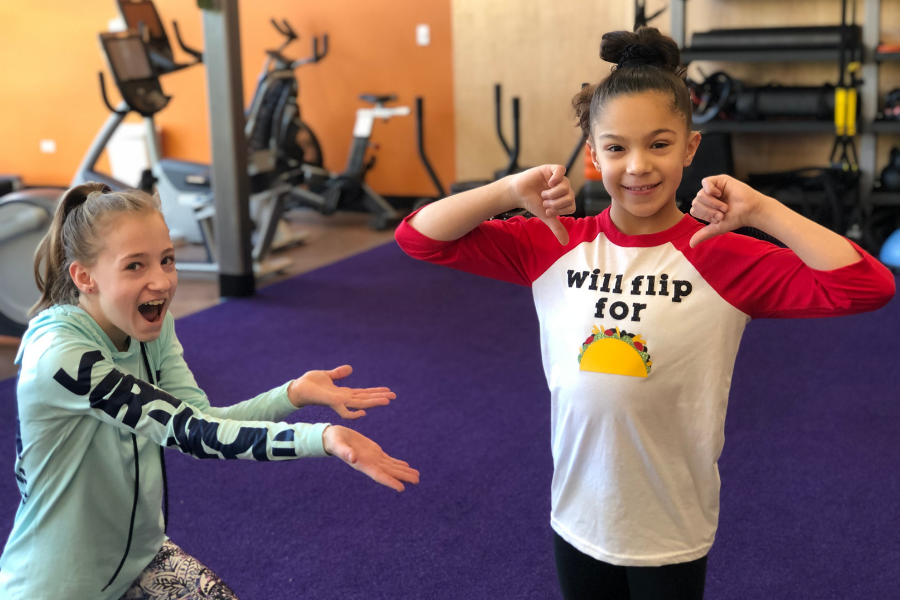
Exercises for Youth Cheerleaders. If you’re here reading this then you already know that cheer is a grueling sport. Likely …